A Day in the Life of a Sugaring Field Trip
Want to discover what a "Sugaring Time" field trip at Shelburne Farms is like? It's one of our signature programs that educate for a sustainable future. This particular program happens daily during two weeks in March, and explores one of the big ideas of sustainability: cycles. I recently tagged along with a group of 3rd graders from JFK Elementary School in Winooski, Vermont and had a blast. Come along with me!
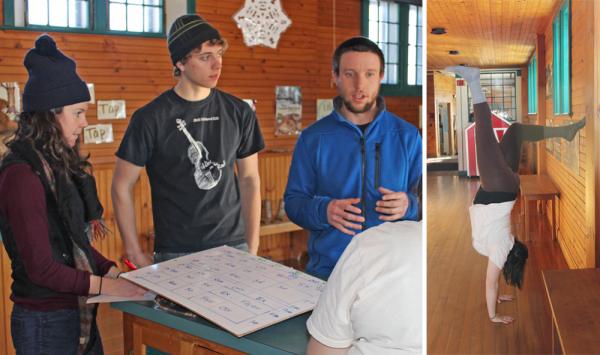
9:20 | In the McClure Education Center in the Farm Barn, our educators review logistics: how many groups; who will lead each one; where each group will go and when. It’s an impressive bit of choreography. While waiting for the bus, apprentice Kelly Taylor also finds a brief moment for yoga to help get focused for the day.9:45 | The bus arrives a little late and it’s a big group – 60 students, so our educators quickly move them into a brief snack, an intro, and into their small groups.
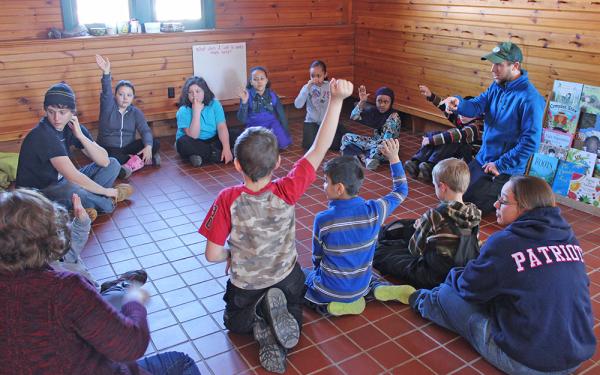
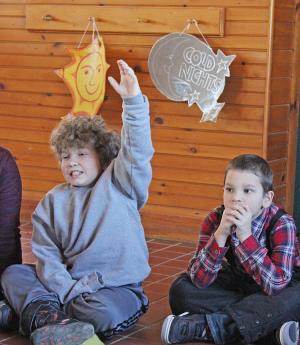
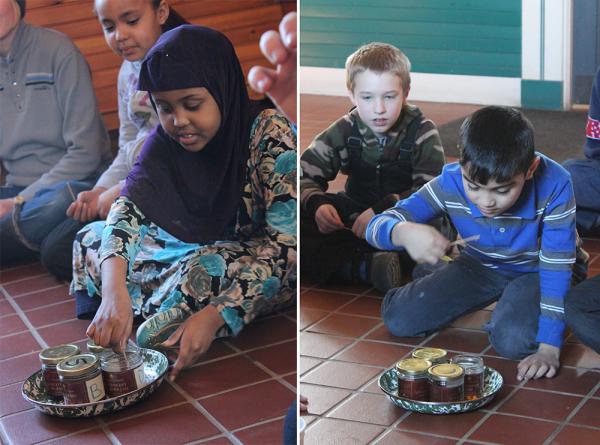
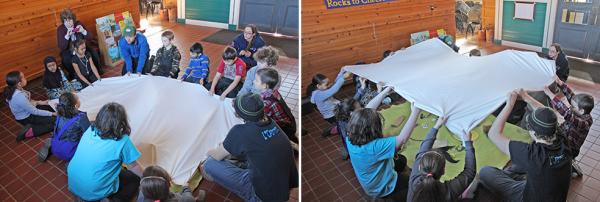
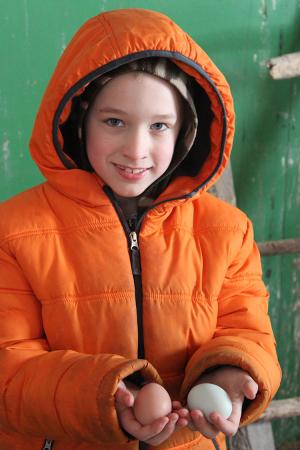
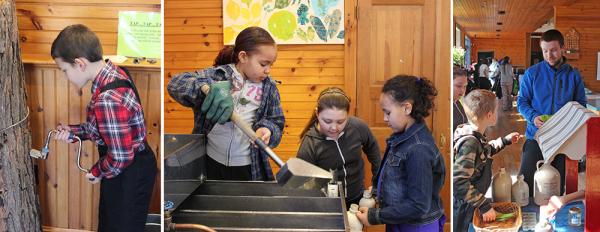
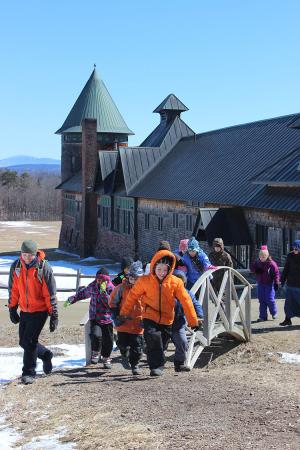
10:10 | Shelburne Farms educator Justin Frawley warms up his group with a question that puts students squarely at the helm of this inquiry ship. “What do you know about maple syrup and what do you like to eat with it?” “My name is Colin and what I like with maple syrup is cauliflower, broccoli, and waffles. It’s really good!” I must admit, I wasn’t expecting vegetables to make the list. But of course, it makes sense. Maple syrup is a great complement to savory foods, in addition to its primo role as a topping to pancakes and waffles! 10:30 | The students do a blind taste test of four different syrupy sweeteners: honey, agave nectar, table syrup (think “Log Cabin”), and maple syrup from the Farm. They’re pretty good maple experts already because they have little trouble identifying the real stuff. “That’s maple syrup. Totally. Maple syrup.” Justin asks, "How many ingredients do honey, agave nectar, and maple syrup have?" The answer? One each. How many in table syrup? Ten. (You can see an ingredient list for one popular store brand here). 10:45 | What does it take to make maple syrup? Students answer that by playing a "K.I.M. (‘Keep in Mind’) Game": the tools needed for sugaring are laid out on a blanket, then covered with a sheet. Students lift the sheet briefly, scan the blanket, then generate a list of the tools they saw. Wood, sun, drill, tap, scoop, a card saying 219°F (the boiling point of sap), a thermometer... They don’t miss much! Justin explains how cool nights and warm days are needed to create pressure in the tree, which helps push the sap from the roots up to the branches. 11:00 | It's time for a break to get outdoors! The farmyard isn’t a normal stop on our sugaring field trip, but the school made a special request for a visit, so off we go. You can’t argue with the joy of finding fresh eggs or the excitement of "I'M HOLDING A CHICKEN!!!!" 11:30 | Back in the education center, after an orientation from Justin, students explore various sugaring stations. The room erupts in a flurry of maple entrepreneurship!Some students drill into a real tree trunk to practice tapping. Others don flannel and gloves to boil sap at the evaporator. In this case, the sap is just tap water, but with these indoor explorations, students are getting prepared for what they’ll see in the real sugaring operation outdoors. Sales are brisk at the Maple Farm Stand station, where students “sell” the syrup they’ve bottled. Some tough bargaining goes on, too.
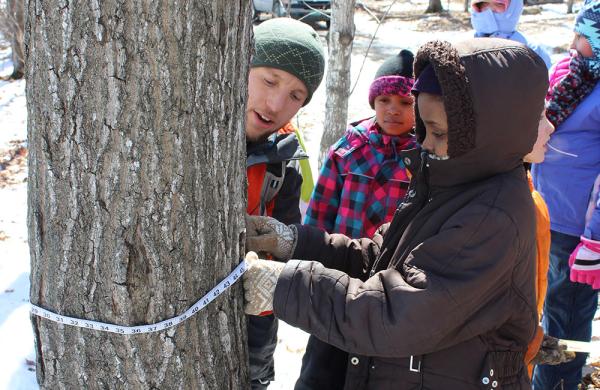
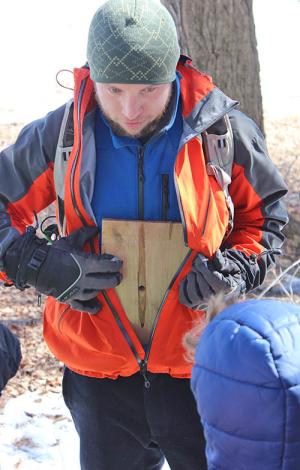
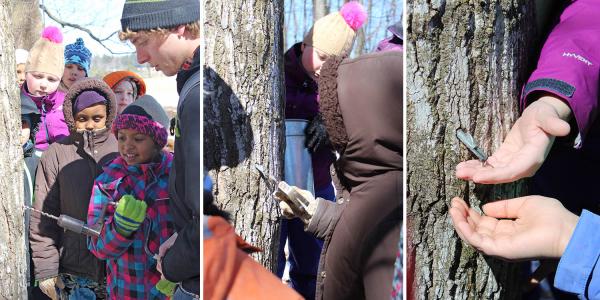
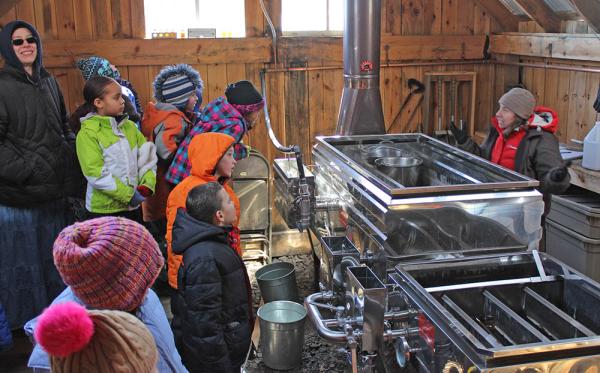
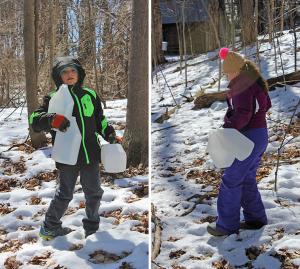
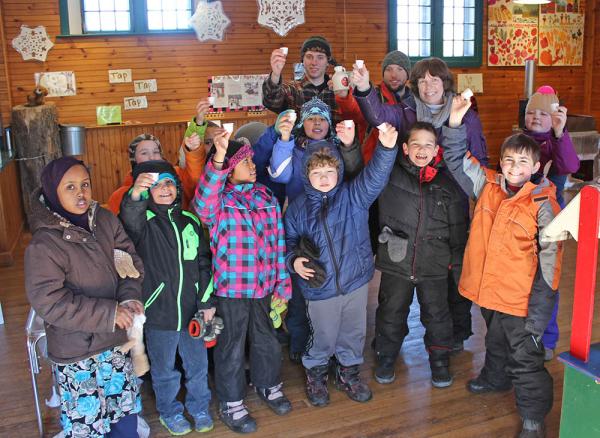
12:30 | After lunch it’s off to the sugarbush! Full disclosure: it was too cold to sugar the day of this particular field trip. But that didn’t damper spirits any. And while seeing and smelling boiling sap is a treat, the essential field trip explorations don't depend on it. 12:40 | Is the tree big enough to tap? A tree has to be 44 inches in diameter to support one tap, while maintaining the health of the tree. It’s up to the students to figure out if “their” tree hits that mark. This one does. Where do you put in a tap? On an old maple board, Justin shows how previous taps leave scars in the tree. You have to avoid scarred areas when you insert a new tap. Why? The scar tissue is dead – no sap runs through it. But just like humans, trees recover from small wounds, so with careful tapping, the tree will continue to grow and thrive. Having found a safe spot on the tree to tap, each student gets to contribute to drilling a single new tap hole (sloped slightly down so the sap will flow), then gently tap in the new tap with a hammer (hence the word, "tapping"!). Almost immediately, the sap starts flowing. So do the questions -- and the excitement. “How long will it take all the sap to come out?” “When do we put the bucket under it?” "I've never gone maple sugaring!" 1:00 | The group visits with sugarmaker Lynn Wolfe. She shows how sap comes into a big vat, then is fed through a tube into the evaporator to be boiled into syrup. “It looks like a bathtub!” says one student referring to the vat. “I want to swim in it!” Lynn shares that right now, early in the season, we’ve made 40 gallons of maple syrup. Last year we made a total of 200 gallons. “That’d fill a bunch of bathtubs!” the same girl exclaims. 1:15 | How much sap makes a gallon of syrup? In our last activity of the day, students hunt for empty gallon jugs hidden in the sugarbush to find the answer. Once gathered, there are 38 white jugs in the pile. In our sugarbush, it takes about 38 gallons of sap to make one gallon of syrup. (You’ll often hear a rounded figure of 40:1.) 1:35 | Mmmmmmaple! With a parting taste of maple syrup, the group boards the bus to return to their school. I’m a bit chilly, but I am warmed and inspired by what I've just been part of: the skill of our educators, the engagement of the teacher -- who seamlessly tied the learning back to her classroom work, and above all by the enthusiasm and joy of the students, who will return home a little more connected to their Vermont home and landscape, the pure sweetness on their breakfast table, and the world outside their door.
